How did you use media technologies in the construction and research, planning and evaluation stages?
Throughout the process of constructing, researching, planning and evaluating my products I have used a range of media technologies, from physical technologies to computer programmes and internet sites.
Physical Technologies
I started by creating a mind map of some of the physical technologies I have used to base a short video on: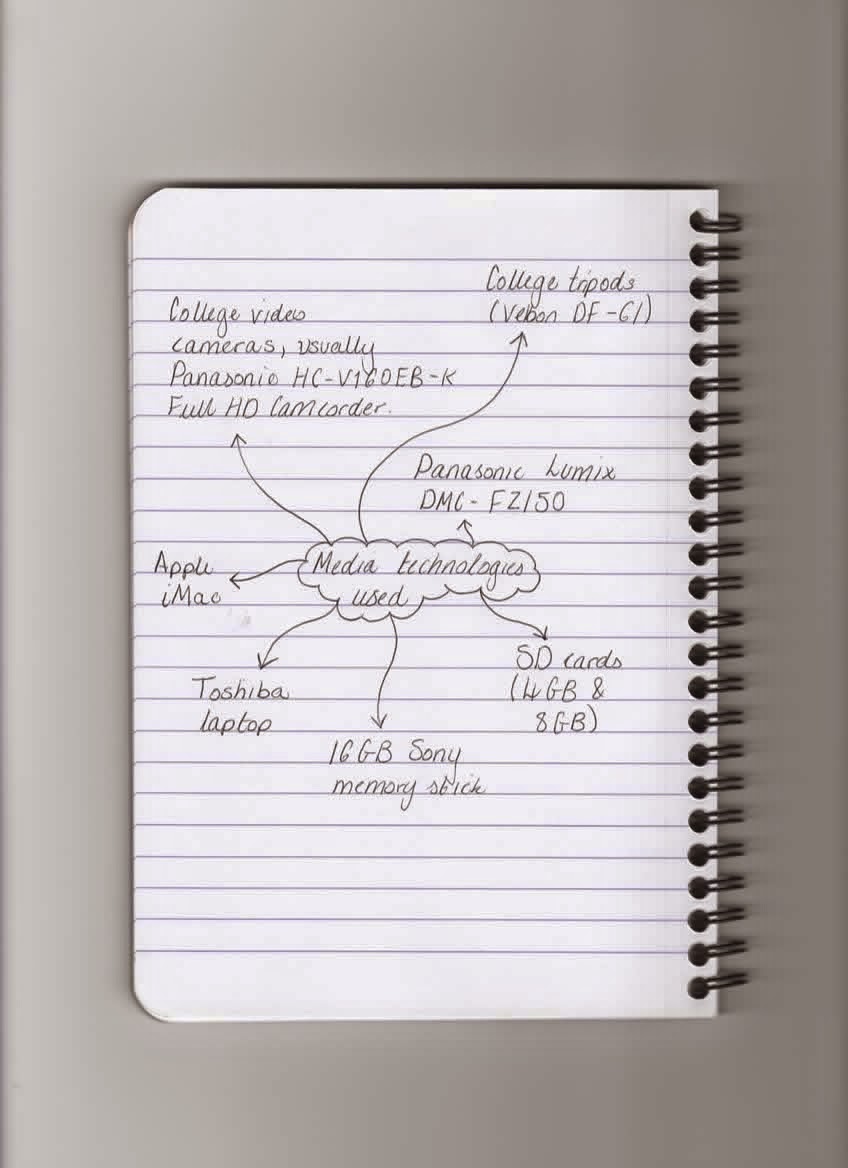
From creating this mind map I found that I had quite a lot to say about each thing, regarding how and why I used them and what benefit it gave me. I therefore thought that the easiest way to express this would be to do a short video of me showing and talking about each thing. However I could not do this for the video camera and tripod because they belong to college, therefore I have done a written section for these.
Filming Camera


This is the main camera that I used for filming my music video. It is a Panasonic HC-V160EB-K Full HD Camcorder and is borrowed from college. The camera has many qualities which made it suitable for filming my music video. First of all it is compatible with the editing software that I used which was Final Cut Pro, this meant that didn't have to convert the footage or refilm shots on another camera. The camcorder has full HD which meant the quality of the shots were to a high standard and remained this way when being viewed on numerous programmes. I found that my footage was generally to a very high quality and any shots lacking in clarity were a result of bad lighting, of which I shot again. The 77x zoom on the camera is very useful and easy to use, the button being located on the top of the camera made it easy to adjust. In addition to this the image stabilizer meant that the image was always clear which helped me as I was new to shooting moving image shots. Also a feature on the camera is the ability to take still shots in the middle of filming, which could have been used within my music video. I did not use this however as it did not match my storyboard and I found no way to fit it in. The camera has a playback feature which meant that I could view the shots straight after filming to ensure that what had been captured was suitable for my video and if not there was also a delete button to permanently get rid of the unusable shots. I did not often use this feature however as I wanted to keep the shots to review properly on a computer before deciding whether to use them or not. The buttons to work the camera were all very easy to understand and use, meaning it didn't take long to get the hang of the camera and no time was wasted whilst filming. The LCD screen is also able to move around making different angled shots easy to capture as it was still visible no matter the angle. For example I often shot high angle shots by tilting the screen so that it was visible to me, meaning I could frame the shot properly. The battery on the camera is also very good and lasts for longer than the average filming session which meant that I never ran out of battery whilst filming. This was good as it meant that I never had to go back and finish the filming session another day. The hand strap on the side of the camera also made hand held shots really easy to do as it meant that the stability of the shot was higher and there was also less chance of me dropping the camera and damaging it. Overall I think that this camera was probably one of the best available to me and although the quality could have been better, I think my video quality is quite high for a college production.
Tripod


This is the tripod I used for the majority of my filming for my music video. The tripod is a Velbon make and has many features which make it suited to the style of filming I took part in. Firstly the tripod is ideal for camcorders (what I used to film), meaning it was compatible with my camera type. The tripod, although not able to fit in a standard sized bag, was fairly lightweight meaning it was fairly easy to transport to locations. The tripod did not have a handle for carrying however which made it slightly more difficult to manage but I chose to just carry it by one of the expandable legs. Plus with most of my locations being fairly nearby or me and cast members getting there via car, there were no real problems. The tripod had 3 quick release legs which made adjusting the tripod to suit each shot quite easy and didn't waste time. This feature also meant that obtaining the right height was achievable as I could set it how I wanted to. The 'geared centre platform' also allowed for quick height adjustments, moving just the top of the tripod upwards. I found this particularly useful as it meant that I could do things very quickly and not waste any time. The tripod also has a 'spirit level' circle towards the top which allowed me to see how stable the tripod was and make sure the shot was level. The 'pan head' made doing camera movements such as tilts and pans really easy and I generally found that they went smoothly. The ability to make the handle as tight or as loose as you wanted by twisting it also meant that I had full control over the movement. The quick release platform which attaches the camera to the tripod was really easy to use and firmly secured the camera to the tripod preventing it from falling off and potentially damaging the equipment. Finally I found that the rubber tipped feet made the tripod remarkably stable even on rougher grounds, meaning the shot was also stable. Overall I think that this tripod was very useful and necessary whilst filming and allowed me to capture professionalism in my filming.
Computer Programmes
I also used a range of computer programmes whilst doing my A2 media coursework, which include:- Final Cut Pro
- Adobe Photoshop
- Calendar
- Movie Maker
- Powerpoint
- Word
- iTunes
Final Cut Pro


The programme I used to edit my music video was Final Cut Pro. This is a programme specifically based around Mac computers and is possibly the most commonly used editing software. As I don't have a Mac at home however this meant that I was limited to the amount of time I had to edit my video. The programme is non linear which means you do not have to start editing from the beginning and can start from which ever section you would like. I found this particularly useful as the first shots which I filmed where some of the green room shots which are scattered throughout the video and so I was able to edit them all in to the section of the song where they're supposed to be at. The software as a whole was very easy to use, as soon as I inserted my SD card a message came up asking if I wanted to import clips and if so which ones, so straight away I could just download them onto the programme. This saved a lot of time as I didn't have to mess about discovering everything. The software had a range of tools such as 'trim' and 'blade' which I frequently used to cut down shots to their desired length. This was very helpful as often the shots were too long or I wanted them to start further in, etc. The programme also has a number of effects, transitions and text features, as well as other features less suited to my needs. I found these features to all be quite useful however I mainly used transitions, such as 'flash' (flashback section) and 'fade' (performance section), these features helped to aid the entertainment of my video. Another feature I used quite frequently and found to be quite effective was the 'slow/fast' feature, which allowed me to change the speed of my clips. This meant that I could make bits such as the running up the stairs scene faster improving the aesthetics and also matching the pace of the song. The ability to create different projects and folders containing different clips also meant that I was able to organise my shots so I knew which ones were recent (particularly if I'd just done a reshoot). This allowed me to find the clips I wanted to use really easily and saved time re watching them all over again. The play back feature in the top right corner also meant that I could watch back my work as I was creating it so I could spot any mistakes or things that didn't work well in the sequence. This really helped me to keep the shots in time with the music and make sure that the lip sync matched. Also good about this programme is how easy it was to upload onto YouTube, meaning I could share my product almost instantly and obtain feedback from teachers, peers and even random YouTube users. This allowed me to gain feedback and change/tweak my video based on what viewers said. Overall I think that using this programme helped me to create quite a professional video and enabled me to do things that I might not have been able to do if I had of used another programme.
Adobe Photoshop
The programme I used to edit my still images and create my ancillary texts was Adobe Photoshop. This is a photo editing software which is very popular among photographers, graphic designers, etc. I am very familiar with this programme as I studied photography and graphics at GCSE and also used it to construct my AS coursework (a music magazine). I downloaded the 30 day free trial on my laptop at home so that I could focus my college time on creating my music video and my home time on creating my ancillary texts. I made a short video to show the tools and features available on photoshop and also the main ones that I used when making my own products.
Internet Sites
Whilst creating my coursework I also used a number of internet sites, which include (of which I can remember):
- www.blogger.com
- www.youtube.com
- www.prezi.com
- www.slideshare.net
- www.wevideo.com
- www.powtoon.com
- www.surveymonkey.com
- www.dafont.com
- www.bandnamemaker.com
- www.googlemaps.com
- www.bbc.co.uk/weather/
Blogger

No comments:
Post a Comment